


The Arts and Crafts style of decorating is having a resurgence. The Arts and Crafts movement of the late 19th Century began in England as an antidote to the lower level of design and craftsmanship that developed after the Industrial Revolution. Designers like William Morris, who led the movement, worked to reintroduce functional beauty into homes through their furniture, lighting, and wallpaper designs. Our Eugenie Arts and Crafts stencil is inspired by this period. You can embrace this style in your home when you use our lovely Eugenie wall pattern to paint your own custom wallpaper look with stencils. Our detailed stencil shading technique adds more dimension and a lovely Craftsman hand-painted quality.
Watch our how to Stencil Arts & Crafts Eugenie stencil below and read on for more stenciling details.
Stencil Supplies:
- Eugenie Floral Wall Arts and Crafts Stencil
- 3-1” Stencil Brushes
- 1-5/8* Stencil Brush
- Basecoat: Off White
- Behr Wall Paints:
- M470-5 Explorer Blue*
- P180-6 Watermelon Slice*
- S340-4 Tree Hugger
- Burnt Umber Acrylic paint
*Add a little bit of the Burnt Umber acrylic paint to pink and blue stencil colors to soften them a little
Stenciling Steps:
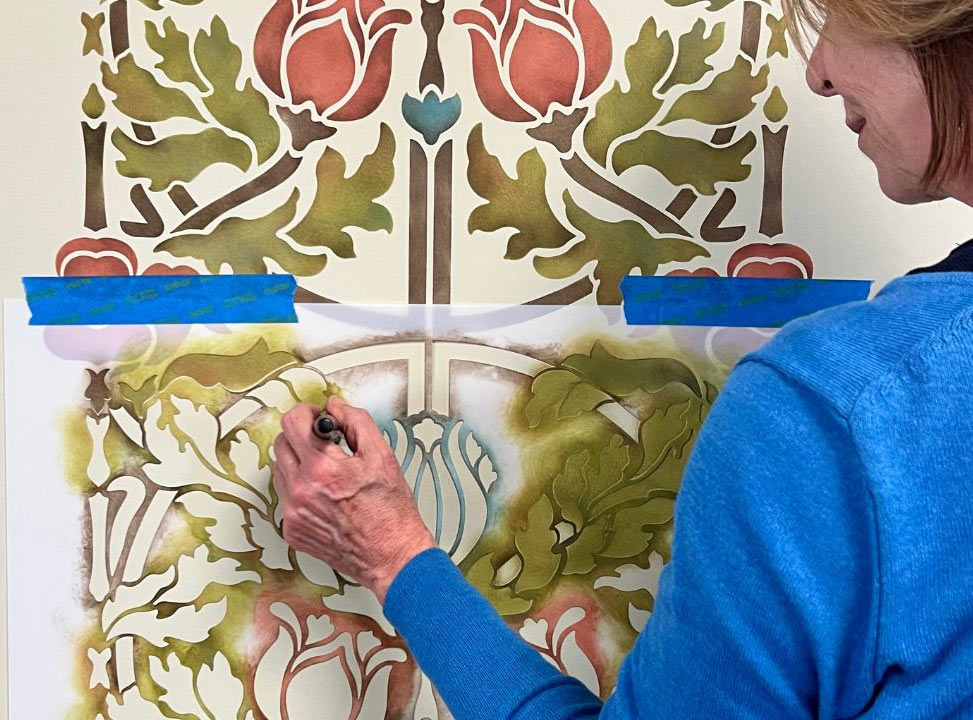
First stencil the leaves and stems with green color and don’t worry if some of the color bleeds into other design areas. We actually WANT the colors to blend together a bit for this stencil technique and it adds to the overall effect.
Stencil the rose floral elements with the pink color (Watermelon Slice with some Burnt Umber added(. Blend some of the pink color into the green leaves for as you are stenciling for more interest.
Stencil the tulip elements with blue that has been softened with Burnt Umber.
Stencil the remaining elements with the Burnt Umber acrylic paint. While doing that stencil shade the flowers and leave also with light touches of brown
Keep slowly adding more shading of brown a little bit at a time with a dry stenciling brush and soft pressure until you get the desired shading effect.
Repeat the stencil down and carefully align the registration elements. Continue repeating the pattern following the same exact steps.
Find more beautiful stencil looks for your walls in these How to Stencil Video blogs.
- The Complete Guide to Wall Stenciling
- Stencil Your Way to a Gorgeous Wiliam Morris Wallpaper Look
- Better Than Wallpaper: How to Stencil Custom Wall Art


